
- All
- Product Name
- Product Keyword
- Product Model
- Product Summary
- Product Description
- Multi Field Search
Views: 771 Author: Site Editor Publish Time: 2021-01-05 Origin: Site


-Apply to residential, office buildings, hotels and other public buildings.
- L-Type Fastener 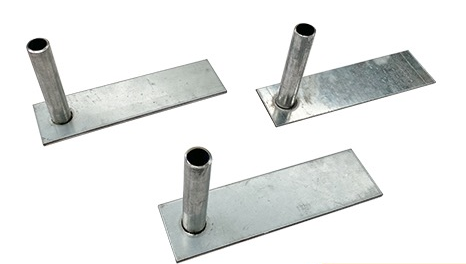 - Gradienter
- Chalk line set 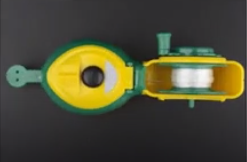 - Shoot nail
- Rubber hammer 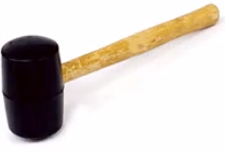 - Portable cutting machine
- Crowbar 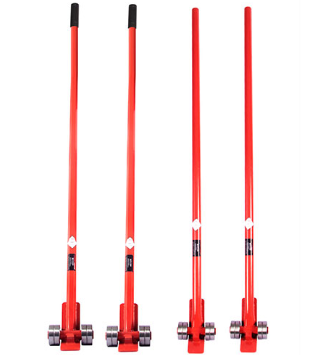 - Trowel
- Level ruler 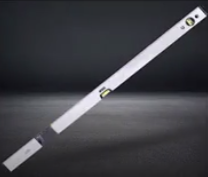 - Electric blender
- Mud bucket 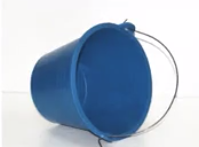 - Wood wedges
- Special adhesive mortar 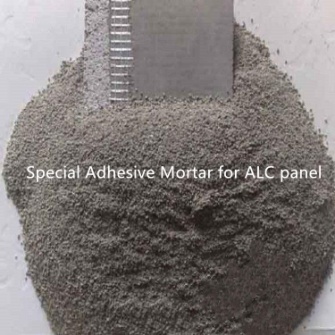 - Tap measure
- Frosted trowel 


a. Clean up the field and lay out wall lines according to construction drawings.
b. Lay out position control lines at the top of concrete beam, floor slabs, side concrete columns and door-window openings.
c. Control the verticality and flatness of the wall, the position and elevation of the door-window openings.

a. Check the integrity of the panel.
b. Put the panel on the trolley and measure its size, precisely cut the panel according to actual length and width.

c. While installing the first panel, L-Type fasteners should be nailed in both sides of the top and outer side of the bottom.

(Mark: 1. Start with the second panel, L-Type fasteners should be nailed in outer side of the top and bottom.
2. If the panel is connected to the structural column or external wall, L-Type fasteners should be added on the upper and lower ends on the side of the structural column or external wall. If the fasteners spacing is greater than 1500mm, another fastener should be added in the middle.)
d. Before install the first panel, special adhesive mortar should be applied on the top of the panel and the vertical side connecting the external wall and structural column.


a. lift up the panel from the trolley, and adjust the perpendicularity and installation position.

b. Insert wood wedges at the top and bottom of each panel to hold.

c. By using the level ruler to check the flatness of the wall panel to make sure the installation error of the wall panel should be controlled within 3 mm.

d. By using a nail gun to shoot nails into the L-Type fasteners on the top and bottom of the wall panel in order to fix to the structural beams and foundation.


e. Special adhesive mortar should be applied on the outer side of the panel to connect with the next panel.

f. The joint between panels should be made level.


(Mark: 1. Position adjustment should be finished within 20 minutes after applying with the special adhesive mortar. Otherwise, it may affect the adhesive strength.)
g. Each installed panel should adjust the position and then fix.
h. The installation quality should be checked after entire wall is installed.

i. Deviation walls should be corrected by using frosted trowel and rubber hammer.

j. Places with holes should be repaired with special repair mortar.
k. Once the installation is finished and quality met the requirement, the lower end of the wall panel should be inlaid with 1:3 cement mortar.

(Mark: 1. Wood wedges can be pulled out after 24 hours of installation, and repair with 1:3 cement mortar.
2. Wall slotting should be operated after 7 days of installation to avoid adhesive cracking.)

 -
- 


